There’s something magical about that first bite of a Reese’s Peanut Butter Bars recipe. The creamy peanut butter filling melts into the chocolate topping, and suddenly you’re transported back to childhood, unwrapping your favorite candy after school. I first discovered this no-bake dessert at a family gathering, and let me tell you, the platter was empty before I could even ask for the recipe.

These Reese’s Bars have become my go-to when I need a crowd-pleasing dessert that doesn’t require turning on the oven. Whether you’re making Reese’s Pieces treats for a party or craving Reese’s Peanut Butter Cup Bars on a Tuesday night, this recipe delivers every single time. The best part? You can have them ready in about 15 minutes, plus chilling time.
Why You’ll Love These Reese Peanut Butter Bars
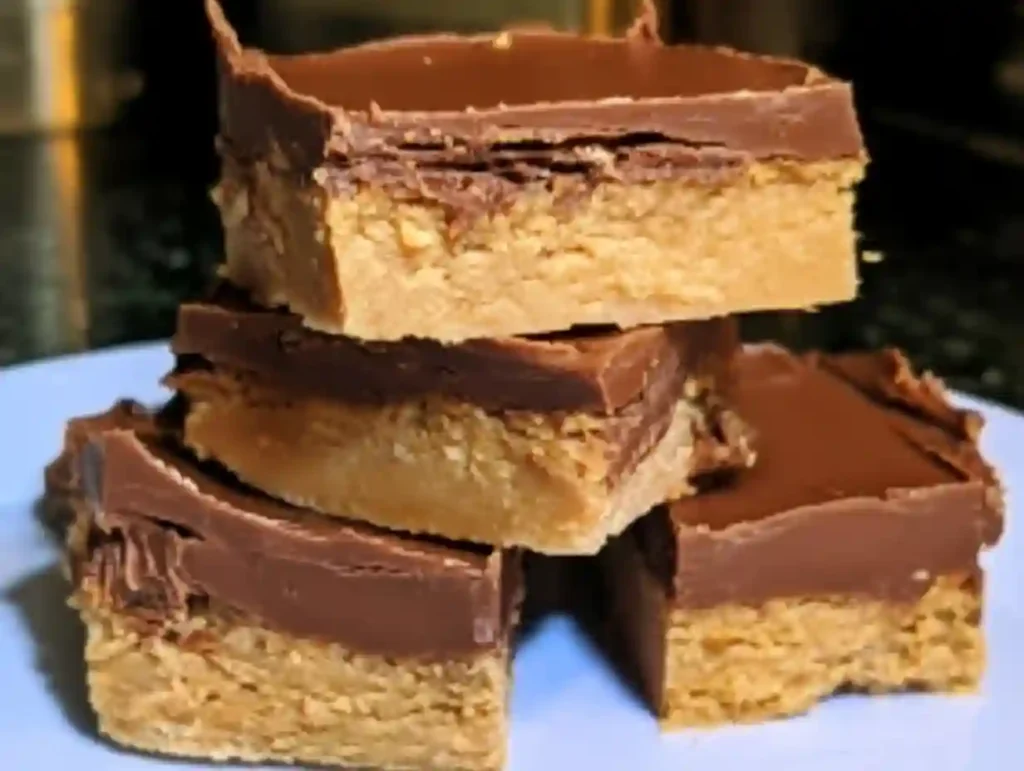
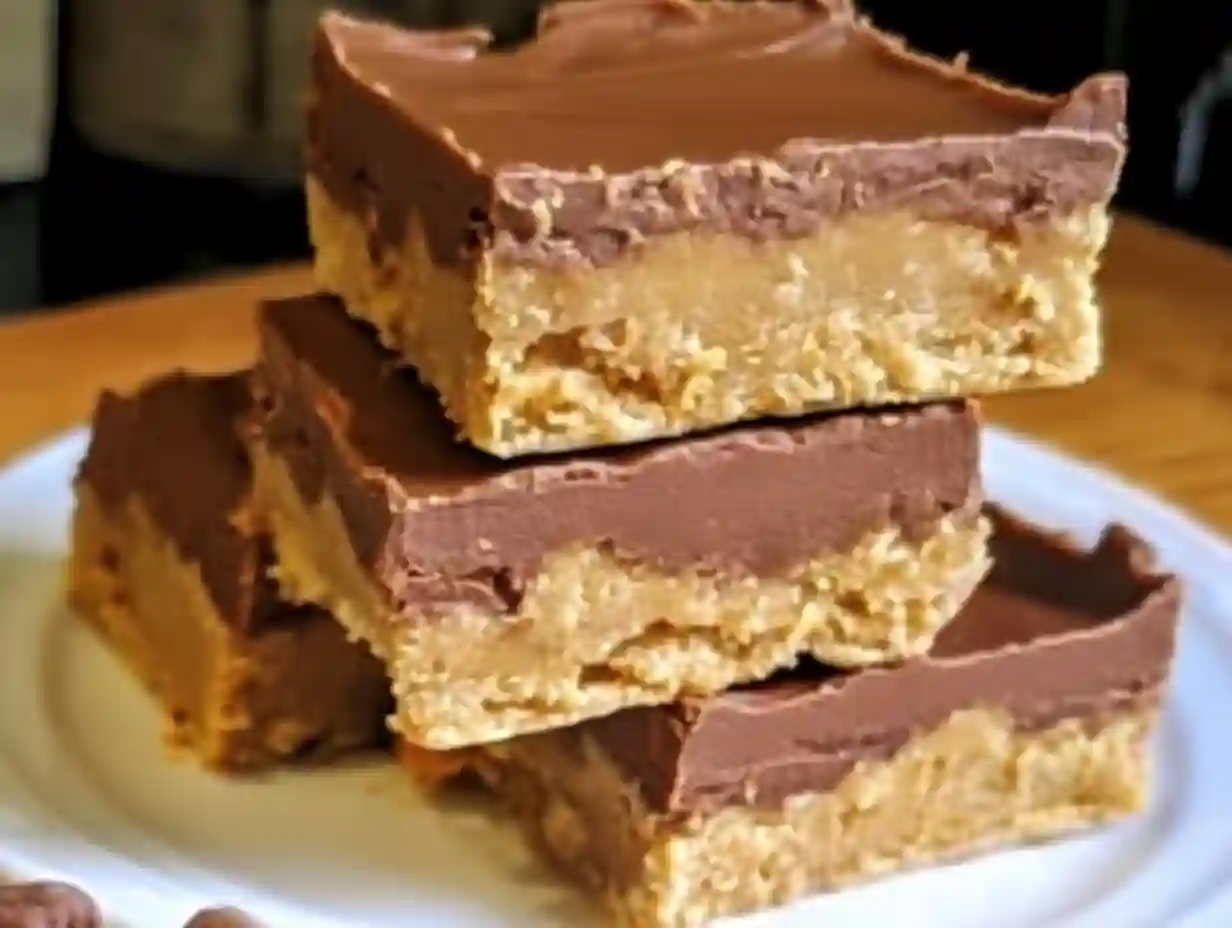
What sets these Reese’s Bars Recipe apart from other peanut butter desserts is the perfect balance of textures. The graham cracker base provides just enough crunch, while the peanut butter layer stays luxuriously soft. The chocolate topping sets firm but never gets that waxy feeling you get from store-bought candy.
These Reese’s Peanut Butter Desserts work for every occasion. They’re elegant enough for dinner parties yet casual enough for weeknight treats. The no-bake nature means they’re perfect for hot summer days when you don’t want to heat up the kitchen. Plus, they store beautifully in the fridge, so you can make them ahead.
Ingredients for Perfect Reese’s Bars
One of the best things about this Reese’s Bars recipe is how simple the ingredient list is. You probably have most of these items in your pantry right now. The key is using quality peanut butter and good chocolate for the best results.
- 2 cups graham cracker crumbs (about 12 full sheets)
- 2 cups powdered sugar, sifted
- 1 cup creamy peanut butter (not natural style)
- 1 cup unsalted butter, melted
- 1 teaspoon vanilla extract
- 2 cups milk chocolate chips or semi-sweet chocolate chips
- 3 tablespoons peanut butter for the chocolate topping
- 1 cup Reese’s Pieces for garnish (optional)
The secret to amazing Reese Peanut Butter Bars is in the peanut butter choice. Use regular creamy peanut butter like Jif or Skippy, not the natural kind that separates. This ensures your bars set properly and have that classic candy bar texture everyone loves.
Step-by-Step Instructions
Start by lining a 9×13 inch baking pan with parchment paper, leaving some overhang on the sides. This makes lifting out the finished bars so much easier. Lightly spray the parchment with cooking spray to prevent sticking.
In a large mixing bowl, combine the graham cracker crumbs and powdered sugar. Add the melted butter and 1 cup of peanut butter along with the vanilla extract. Mix everything together until you get a thick, moldable consistency. It should hold together when you press it between your fingers.
Press this mixture firmly into the bottom of your prepared pan. Use the back of a spoon or your fingers to get an even layer. The firmer you pack it, the neater your bars will slice later. Set this aside while you prepare the chocolate topping.
Melt the chocolate chips with the remaining 3 tablespoons of peanut butter. You can do this in the microwave in 30-second intervals, stirring between each one, or use a double boiler on the stovetop. The added peanut butter makes the chocolate extra smooth and gives it that signature Reese’s flavor.
Pour the melted chocolate over the peanut butter layer and spread it evenly with a spatula. If you’re adding Reese’s Pieces, sprinkle them on top now while the chocolate is still soft. Refrigerate for at least 2 hours until completely set.
Pro Tips for Success
Let your butter cool slightly before mixing it with the other ingredients. If it’s too hot, it can make the peanut butter oily and affect the texture. Room temperature butter works best for this recipe.
Don’t skip the chilling time. These Reese’s Bars need those 2 hours in the fridge to set properly. Cutting them too early will result in messy, soft bars instead of clean squares.
Variations to Try
Make these Reese’s Peanut Butter Cup Bars extra indulgent by pressing mini peanut butter cups into the base layer before adding the chocolate. You can also use dark chocolate instead of milk chocolate for a less sweet version. For a salty-sweet twist, add a pinch of sea salt on top of the chocolate before it sets.
Try using crunchy peanut butter instead of creamy for added texture. Or swap the graham cracker crumbs for crushed Ritz crackers for a slightly different flavor profile that still tastes amazing.
Troubleshooting Tips
If your bars are too soft, they probably didn’t chill long enough. Make sure your fridge is set to the right temperature and give them the full 2 hours. If the chocolate topping is cracking when you cut, let the bars sit at room temperature for 5 minutes before slicing.
Bars that won’t hold together usually mean the peanut butter mixture wasn’t pressed firmly enough. Next time, really pack it down into the pan. You can also try adding an extra tablespoon of melted butter to help bind everything.
Ingredient Substitutions
For a dairy-free version, use vegan butter and dairy-free chocolate chips. Many brands make excellent plant-based options that work perfectly in these Reese’s Bars Recipe variations. You can also use almond butter or cashew butter instead of peanut butter, though the flavor will be different.
Gluten-free graham crackers work beautifully if you need to avoid gluten. Just make sure to check that your chocolate and peanut butter are also certified gluten-free if that’s a concern.
Storage and Serving Suggestions
Store these Reese’s Peanut Butter Desserts in an airtight container in the refrigerator for up to one week. They actually taste better on day two once the flavors have had time to meld. You can also freeze them for up to 3 months, just wrap individual bars tightly in plastic wrap.
Serve these Reese’s Bars at room temperature for the best texture. Take them out of the fridge about 10 minutes before serving. They pair wonderfully with a cold glass of milk or a hot cup of coffee for an afternoon treat.
Frequently Asked Questions
Can I make these Reese’s Bars ahead of time?
Absolutely! These bars are perfect for making ahead. Prepare them up to 3 days in advance and store in the refrigerator. They actually get better as the flavors develop.
Why are my bars too soft?
Soft bars usually mean they didn’t chill long enough or you used natural peanut butter. Make sure to use regular creamy peanut butter and give them the full 2 hours in the fridge.
Can I use chunky peanut butter?
Yes! Chunky peanut butter adds nice texture to these Reese Peanut Butter Bars. The bars might be slightly less smooth but will still hold together perfectly.
How do I get clean cuts?
Use a sharp knife and wipe it clean between each cut. For extra clean slices, briefly dip the knife in hot water and dry it before cutting through the chocolate layer.
Can I double this recipe?
You can double it, but you’ll need to use two 9×13 pans or one very large pan. The layers might be thicker, so you may need to increase chilling time by 30 minutes.

Reese’s Peanut Butter Bars
Ingredients
Equipment
Method
- Line a 9×13 inch baking pan with parchment paper, leaving overhang on sides. Lightly spray with cooking spray.
- In a large bowl, combine graham cracker crumbs and powdered sugar. Add melted butter, peanut butter, and vanilla. Mix until thick and moldable.
- Press mixture firmly into prepared pan in an even layer. Use the back of a spoon to pack it down tightly.
- Melt chocolate chips with 3 tablespoons peanut butter in microwave in 30-second intervals, stirring between each, until smooth.
- Pour melted chocolate over peanut butter layer and spread evenly. Sprinkle with Reese’s Pieces if using.
- Refrigerate for at least 2 hours until completely set. Cut into bars and serve.
Notes
- Use regular creamy peanut butter, not natural style, for best texture
- Let bars sit at room temperature for 5-10 minutes before serving for best flavor
- Store in refrigerator in airtight container for up to 1 week
- Can be frozen for up to 3 months