Ingredients
Equipment
Method
Instructions
- Prepare Your Oven and Pan: First things first, preheat your oven to 350°F (175°C). Lightly grease a 9x13 inch baking pan or line it with parchment paper, leaving a little overhang on the sides. The parchment paper trick makes it much easier to lift the bars out for clean slicing later.
- Mix the Wet Ingredients: In a large mixing bowl, using a stand mixer or an electric hand mixer, cream together the softened butter and granulated sugar until the mixture is light and fluffy, about 2-3 minutes. Add the room temperature eggs one at a time, mixing well after each addition. Finally, stir in the almond and vanilla extracts.
- Combine the Dry Ingredients: In a separate bowl, whisk together the all-purpose flour and salt. Gradually add this dry mixture to your wet ingredients, mixing on low speed until just combined. Be careful not to overmix; you want a tender, buttery crust. The dough will be thick and soft.
- Form the Crust: Take about half of the dough and press it evenly into the bottom of your prepared pan. You can use your fingers or the back of a spatula to spread it out. It doesn’t have to be perfect.
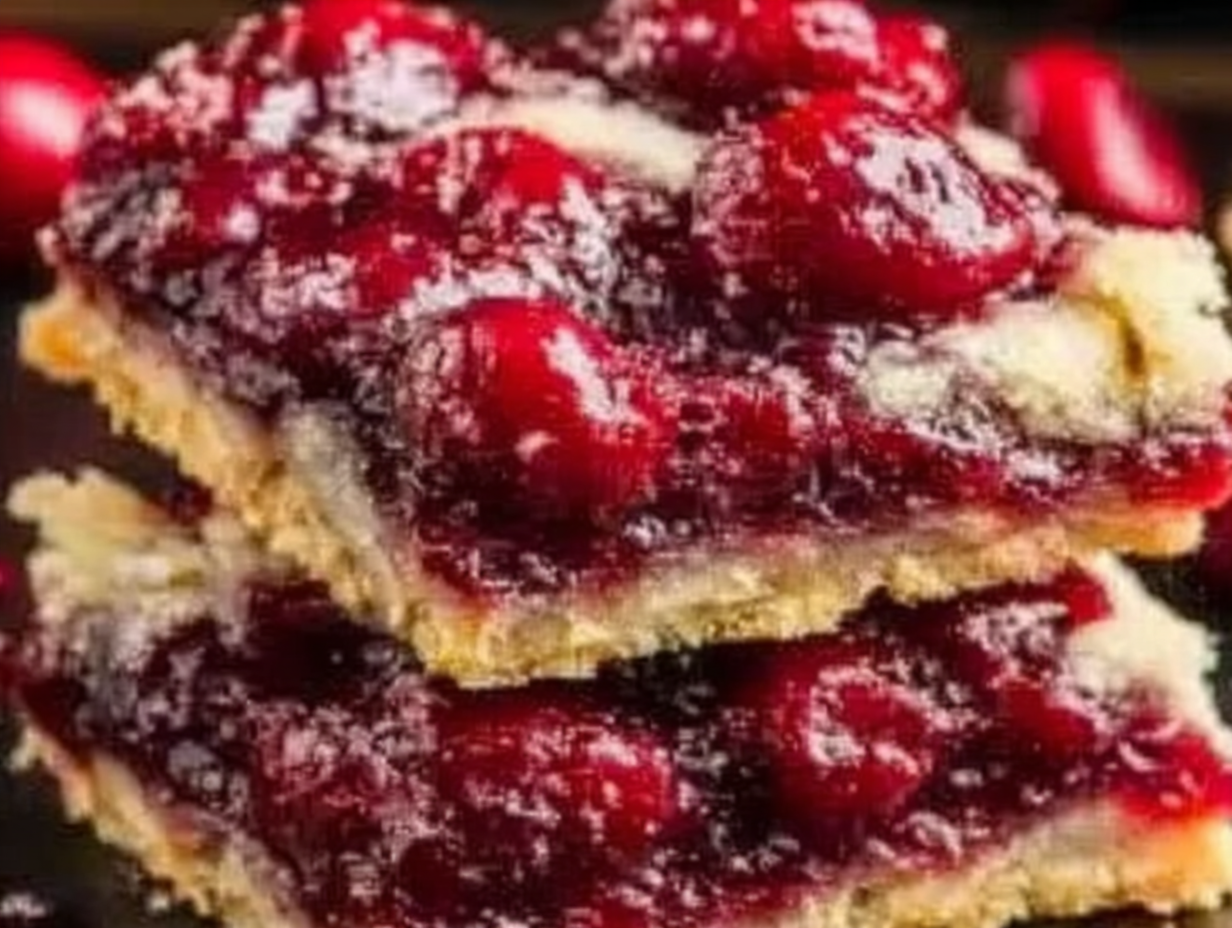
- Add the Filling and Topping: Pour the can of cherry pie filling over the bottom crust and spread it out evenly. Take the remaining dough and dollop small spoonfuls over the top of the cherry filling. This creates that lovely, rustic cobbled look.
- Bake to Golden Perfection: Place the pan in your preheated oven and bake for 35–40 minutes. You’ll know the cherry pie bars are done when the top is a light golden brown and the filling is bubbly around the edges.
- Cool Completely: This might be the hardest step! You must let the bars cool completely in the pan on a wire rack. If you try to cut them while they’re still warm, they will fall apart. Patience is key for perfect squares.
- Glaze and Serve: Once the bars are cool, whisk together the confectioners' sugar, almond extract, vanilla extract, and a few teaspoons of milk in a small bowl. Add milk slowly until you reach a smooth, drizzling consistency. Drizzle the glaze over the bars, let it set for a few minutes, then slice and serve.
Notes
For the best results, use room temperature butter and eggs for a uniform, tender texture. Avoid overmixing the dough after adding flour to prevent a tough crust. The topping should be dropped in spoonfuls for a rustic look. For a clean drizzle, use a zip-top bag with a snipped corner. Always cool the bars completely before glazing and slicing for clean cuts.