There’s something magical about serving soup in a bread bowl you made yourself. The smell of yeast and flour filling your kitchen, the anticipation of that first bite where crusty exterior meets soft interior, and the pure satisfaction of creating something from scratch that feels restaurant-quality. I remember the first time I attempted homemade bread bowls, nervous about getting the texture right. Turns out, learning how to make bread bowls easy is simpler than most people think.

These DIY bread bowl recipes transform ordinary soup night into something special. Whether you’re craving bread soup bowls easy recipes for weeknight dinners or want to impress guests with how to make a bread bowl for soup, this guide covers everything. The beauty of homemade soup in bread is that once you master the basic technique, you can experiment with different flours, add herbs, or even make sweet versions for dessert soups.
How To Make Bread Bowls From Scratch: Essential Ingredients
Starting with quality ingredients makes all the difference when learning how to make bread bowls from scratch. You don’t need fancy equipment or hard-to-find items. Most ingredients sit in your pantry right now. The key is understanding what each component does for your final bread bowls.
Warm water activates the yeast properly, creating those beautiful air pockets inside your bread. Bread flour has higher protein content than all-purpose, giving you that perfect chewy texture with crispy exterior. A touch of sugar feeds the yeast and promotes browning. Olive oil keeps the crumb tender while adding subtle flavor. These simple ingredients combine to create bakery-quality results at home.
- 1 cup warm water (110°F, about 4 minutes under hot tap)
- 2¼ teaspoons active dry yeast (one standard packet)
- 1 tablespoon granulated sugar
- 2 tablespoons extra virgin olive oil
- 1 teaspoon fine sea salt
- 3 cups bread flour, plus extra for dusting
- 1 egg beaten with 1 tablespoon water for brushing
- Sesame seeds or poppy seeds for topping (optional)
Easy Bread Bowls For Soup: Step-by-Step Instructions
The process of making easy bread bowls for soup breaks down into manageable steps. Don’t let the yeast intimidate you. Modern yeast is reliable and forgiving. I’ve made these bread bowls countless times, and they turn out perfectly each time when you follow the timing.
Start by proofing your yeast in warm water with sugar. This step ensures your yeast is alive and active. You’ll see bubbles forming within 5-10 minutes. If nothing happens, your water might be too hot and killed the yeast, or too cold to activate it. Start fresh with new yeast if needed. Once bubbly, add olive oil and salt, then gradually incorporate flour until dough forms.
Kneading develops gluten structure, creating that satisfying chew. You can use a stand mixer with dough hook for 5-7 minutes, or knead by hand on a floured surface for 8-10 minutes. The dough should feel slightly tacky but not stick to your fingers. Add flour sparingly during kneading. Too much flour creates dense, heavy bread bowls instead of light, airy ones.
First rise happens in a greased bowl covered with damp towel or plastic wrap. Find a warm spot away from drafts. Your oven with just the light on works perfectly. After doubling in size (about 1 hour), punch down gently to release large air bubbles. Divide into 4-6 equal portions depending on desired bowl size. Shape each into tight balls by tucking edges underneath and rolling against your work surface.
How To Make A Bread Bowl For Soup: Baking Perfectly
Second rise is crucial for how to make a bread bowl for soup that holds its shape. Place shaped balls on parchment-lined baking sheets, leaving space between each. Cover loosely and let rise 30-45 minutes until puffy. Preheat oven to 400°F during final 15 minutes of rising. Brush tops with egg wash for golden color, then score an X on top with sharp knife or razor blade. This controls expansion and creates classic bread bowl appearance.
Bake 20-25 minutes until deep golden brown. Internal temperature should reach 190°F if you have an instant-read thermometer. The crust should sound hollow when tapped. Cool completely on wire racks before hollowing out. Cutting too soon releases steam and makes bread gummy. Patience pays off with perfect texture.
Pro Tips for Homemade Bread Bowls Easy Success
- Use bread thermometer to check water temperature precisely
- Measure flour by weight for consistent results every time
- Don’t skip the second rise, it creates proper structure
- Cool completely before cutting to prevent sogginess
- Save removed bread pieces for croutons or breadcrumbs
- Brush tops with melted butter immediately after baking for extra flavor
Variations on DIY Bread Bowl Recipes
Once you master basic bread bowls, experiment with flavors. Add dried herbs like rosemary, thyme, or Italian seasoning to the flour. Mix in grated Parmesan cheese for savory depth. Try whole wheat flour for half the bread flour for nuttier flavor and extra nutrition. Garlic bread bowls work wonderfully with creamy soups. Add minced garlic and garlic powder to the dough.
Troubleshooting Tips for Bread Soup Bowls Easy Recipes
Dense bread usually means too much flour or insufficient rising time. Measure carefully and allow full rising time in warm environment. Bread that spreads too flat likely had dough that was too wet or insufficient shaping tension. Next time, add flour gradually and shape balls more tightly. Pale color indicates oven temperature too low or egg wash forgotten.
Ingredient Substitutions
- Bread flour: Substitute all-purpose flour, texture will be slightly less chewy
- Active dry yeast: Use instant yeast, no proofing needed, mix directly with flour
- Olive oil: Melted butter or vegetable oil work equally well
- Sugar: Honey or maple syrup in same amount
- Egg wash: Milk or cream for lighter browning
Storage and Serving Suggestions
Store cooled bread bowls in airtight container at room temperature up to 2 days. Reheat in 350°F oven for 5-10 minutes to restore crispness. Freeze unbaked shaped dough balls in freezer bags up to 3 months. Thaw overnight in refrigerator, then bring to room temperature and bake as directed. Freeze baked bread bowls up to 1 month, thaw and reheat before serving.
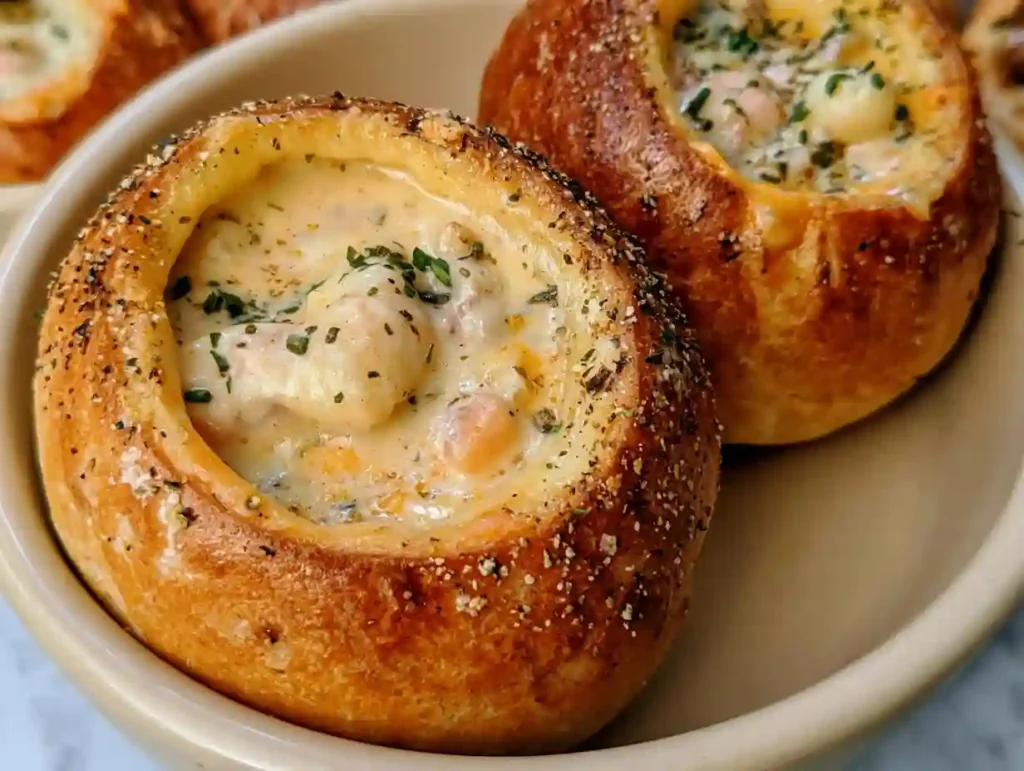
Serve bread soup bowls easy recipes with thick, hearty soups that won’t leak through. Clam chowder, broccoli cheese soup, chili, beef stew, and creamy tomato soup all work beautifully. Cut circular opening in top, remove soft interior leaving ½-inch shell. Fill with hot soup and serve immediately. Provide spoons and napkins for messy, wonderful eating.
Frequently Asked Questions
- How long do homemade bread bowls stay fresh? Bread bowls are best eaten same day but keep 2 days at room temperature in airtight container.
- Can I make bread bowls ahead of time? Yes, bake up to 1 day ahead and reheat before serving. Or freeze unbaked dough balls up to 3 months.
- Why did my bread bowls turn out dense? Dense bread usually means too much flour, water too hot killing yeast, or insufficient rising time.
- What soups work best in bread bowls? Thick, creamy soups like chowder, broccoli cheese, or chili work best without leaking through.
- Can I use all-purpose flour instead of bread flour? Yes, bread will be slightly less chewy but still delicious. Add 1-2 extra tablespoons flour.
- How do I prevent bread bowls from getting soggy? Cool completely before hollowing, serve soup immediately, and consider brushing inside with melted butter.
- What size should I make bread bowls? Standard size uses 4-6 portions. Make smaller for appetizers or larger for hearty main courses.

Homemade Bread Bowls
Ingredients
Equipment
Method
- In a large bowl or stand mixer, combine warm water, yeast, and sugar. Let stand 5-10 minutes until bubbly and foamy.
- Add olive oil and salt to yeast mixture. Gradually add bread flour, mixing until dough forms and pulls away from bowl sides.
- Knead dough 5-7 minutes with mixer or 8-10 minutes by hand until smooth and slightly tacky. Add flour sparingly if too sticky.
- Place dough in greased bowl, cover with damp towel, and let rise in warm place 1 hour until doubled in size.
- Punch down dough and divide into 4-6 equal portions. Shape each into tight ball by tucking edges underneath.
- Place balls on parchment-lined baking sheets. Cover and rise 30-45 minutes until puffy. Preheat oven to 400°F during last 15 minutes.
- Brush tops with egg wash and score X on top with sharp knife. Sprinkle with seeds if desired.
- Bake 20-25 minutes until deep golden brown and internal temperature reaches 190°F. Cool completely on wire racks.
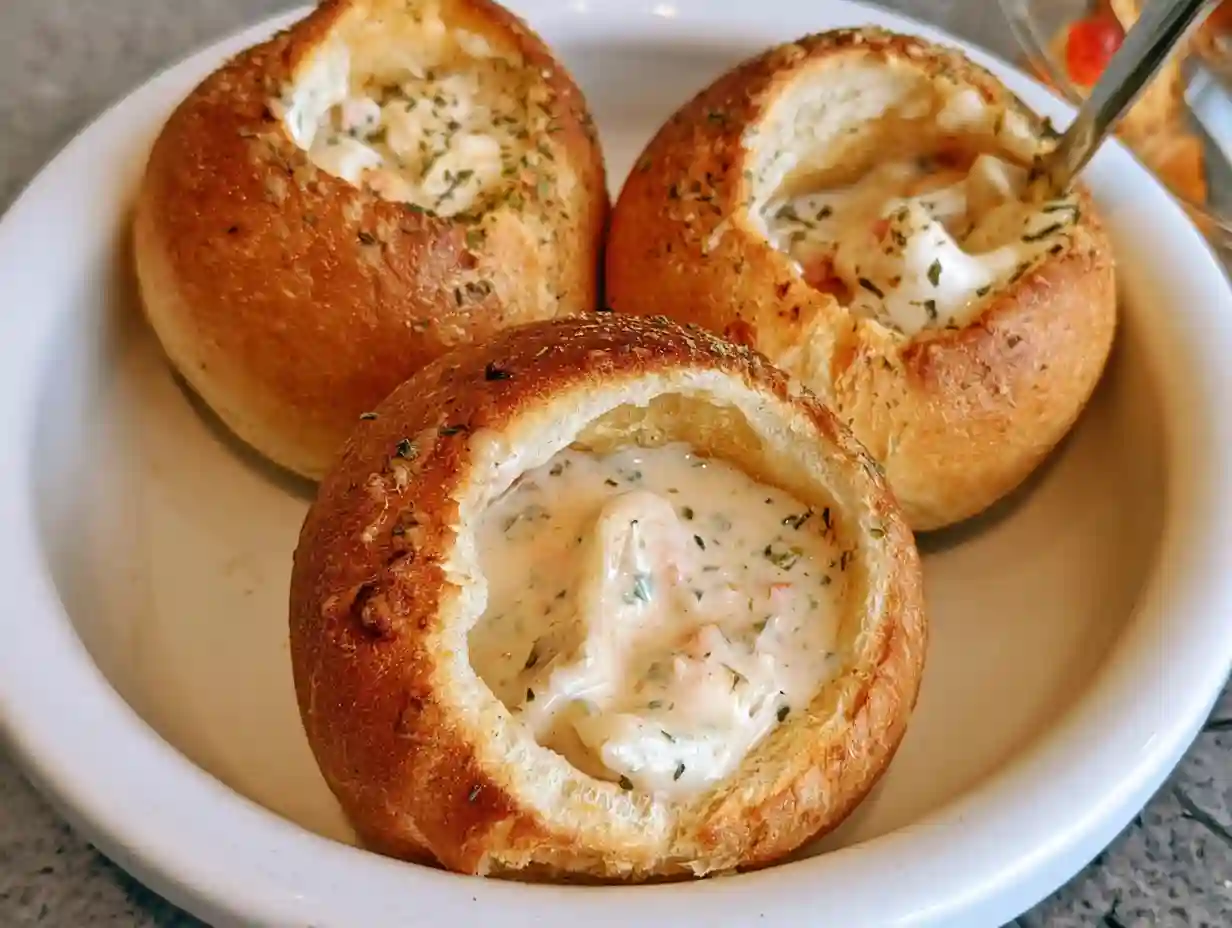
- Cut circular opening in top of each bread bowl. Remove soft interior leaving ½-inch shell. Fill with hot soup and serve immediately.
Notes
- Water temperature is crucial – too hot kills yeast, too cold won’t activate it
- Don’t skip cooling time before hollowing or bread becomes gummy
- Save removed bread pieces for croutons or breadcrumbs
- Best served same day but keeps 2 days at room temperature